Calendar
Odoo Calendar is a scheduling app that allows users to integrate a company’s business flow into a single management platform. By integrating with the other apps in Odoo’s ecosystem, Calendar allows users to schedule and organize meetings, schedule events, plan employee appraisals, coordinate projects, and more – all from the same platform.
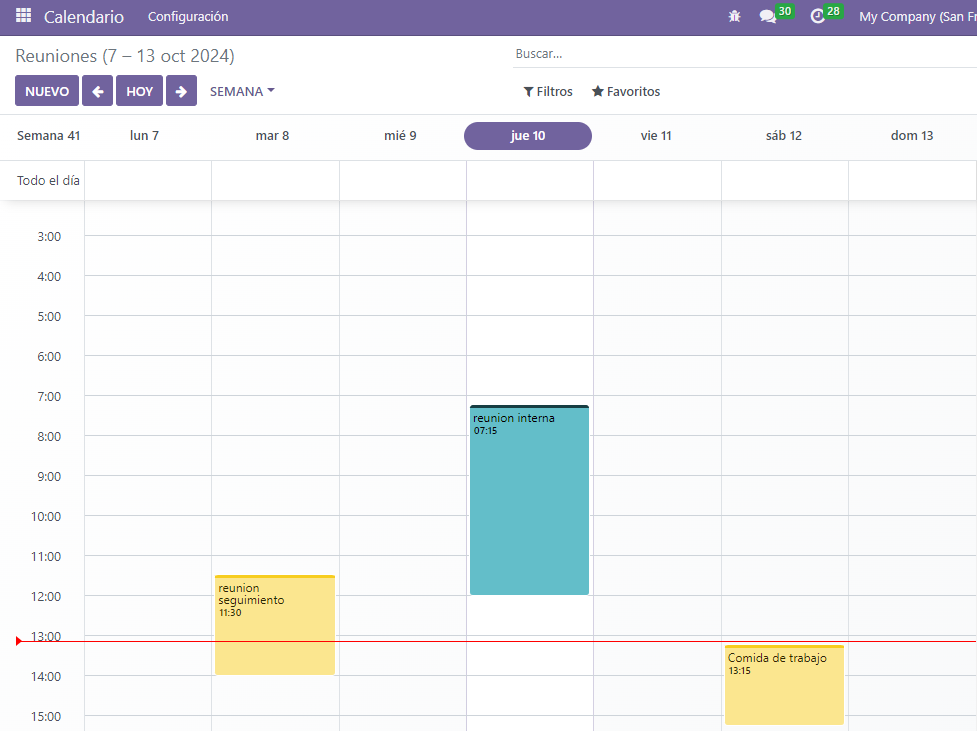
Upon opening the , users have an overview of their current meetings. The selected view option appears as a Day, Week, Month, or Year drop-down menu. Under the view options drop-down menu, users can also enable or disable Show weekends.
Tip
Depending on the selected view option, users can click the (left or right arrow) buttons to switch between days, weeks, etc., and switch back to the current day with the Today button.
Sync third-party calendars
Users can sync Odoo with existing Outlook and/or Google calendars, by heading to . From here, enter Client ID and Client Secret. There is also an option to pause synchronization by ticking the checkbox, or automating synchronization by keeping it blank.
Once the desired configurations are complete, be sure to click Save before moving on.
Events created in synced calendars automatically appear across the integrated platforms.
Create activities from chatter
Instantly create new meetings anywhere in Odoo through an individual record’s chatter, like in a CRM opportunity card or task in the Projects app.
From the chatter, click on the Activities button. In the Schedule Activity pop-up window, select the desired Activity Type, which populates a set of buttons, depending on the activity.
Activities that involve other schedules, like Meeting or Call for Demo, link to the Calendar app. Select one of these activities to link to the Calendar app, then hit Open Calendar to navigate back to the app. Alternatively, it is also possible to Schedule & Mark as Done to close out the activity, or select Done & Schedule Next to keep the Schedule Activity window open to create another.
See also
Plan an event
To put an event on the calendar, open the , and click into the target date. On the New Event pop-up window that appears, start by adding the event title.
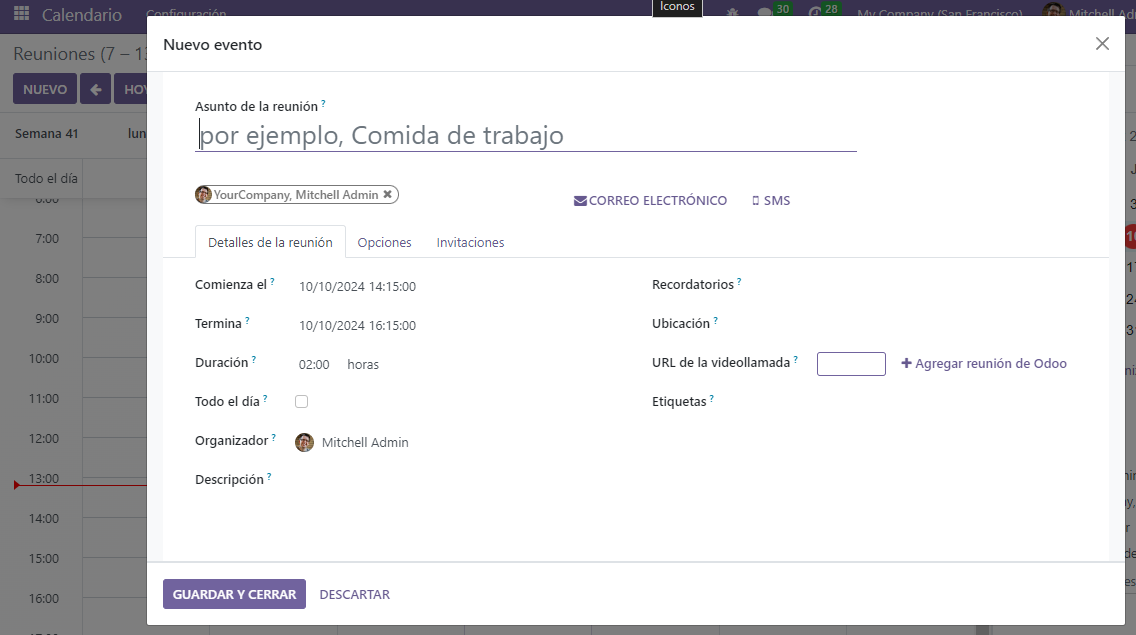
The target date auto-populates in the Start field. This can be changed by clicking into the date section, and selecting a date from the calendar. For multi-day events, select the end date in the second field, then click Apply.
Tick the All Day checkbox if there is no specific start or end time.
For events with specific start and stop times, ensure the All Day checkbox is unticked to enable time selection. With the All Day checkbox unticked, time selections appear in the Start field.
The signed-in user auto-populates as the first attendee. Additional Attendees can be added or created from here, as well.
For virtual meetings, copy and paste the URL into the space provided in the Videocall URL field. Or, click Odoo meeting to create a link.
Next, either create the event by clicking Save & Close, or select More Options to further configure the event.
Tip
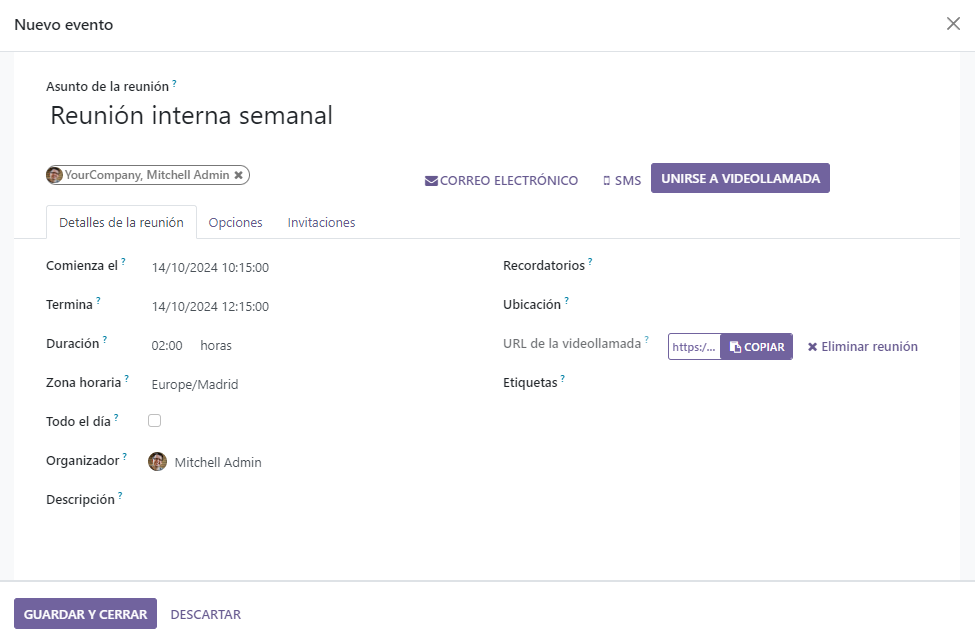
Once the event is created, users can click into the virtual meeting directly from the calendar event to access more configuration options.
The Description field allows users to add additional information and details about the meeting.
Click More Options to navigate to the meeting form, which provides additional configurations for the event:
Duration: Define the length of the meeting in hours, or toggle the All Day switch.
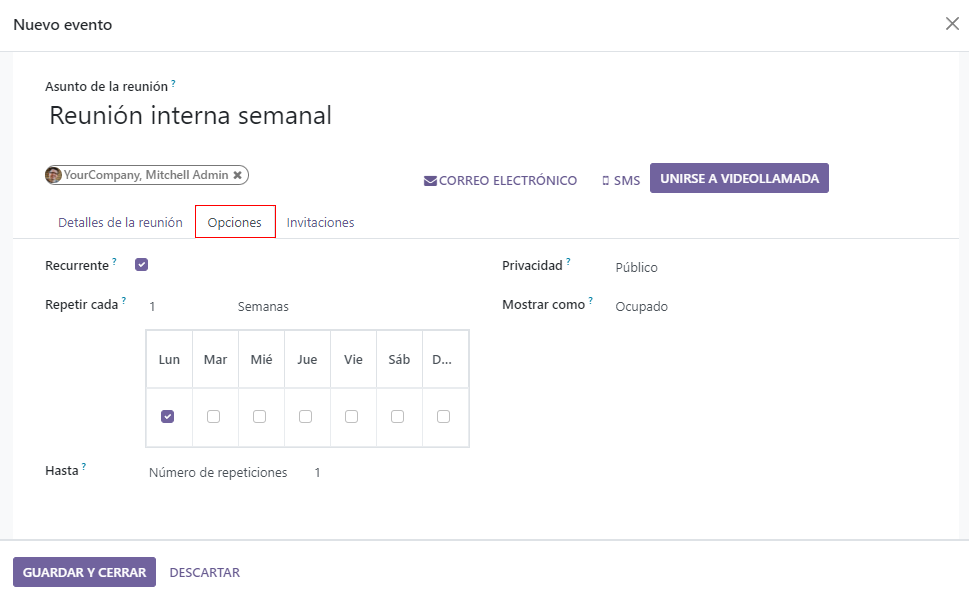
Recurrent: Tick the checkbox to create a recurring meeting. Once selected, this opens new fields:
Timezone: Select the timezone for which this meeting time is specified.
Repeat: Select the recurring period of this meeting. Depending on what type of recurrence has been selected, a subsequent field appears, in which users can indicate when the meeting should recur. For example, if Monthly is selected as the Repeat option, a new field appears, in which the user decides on what Day of Month the meeting should recur.
Until: Select the limited Number of repetitions this meeting should recur, the End date of when the recurrences should stop, or if the meetings should recur Forever.
Tags: Add tags to the event, like
Customer MeetingorInternal Meeting. These can be searched and filtered in the Calendar app when organizing multiple events.Appointment: Link existing or new appointments. These can be configured through the Share Availabilities button from the main Calendar dashboard.
Privacy: Toggle between visibility options to control who can view the event.
Organizer: This is defaulted to the current Odoo user. Select a new one from existing users, or create and edit a new user.
Description: Add additional information or details about the meeting.
Reminders: Select notification options to send to attendees. Choose a default notification, or configure new reminders.
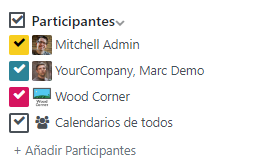
Coordinate with teams’ availability
When scheduling an event for multiple users, on the Calendar app dashboard, tick the checkbox next to Attendees to view team members’ availability. Tick (or untick) the checkbox next to listed users to show (or hide) individual calendars.